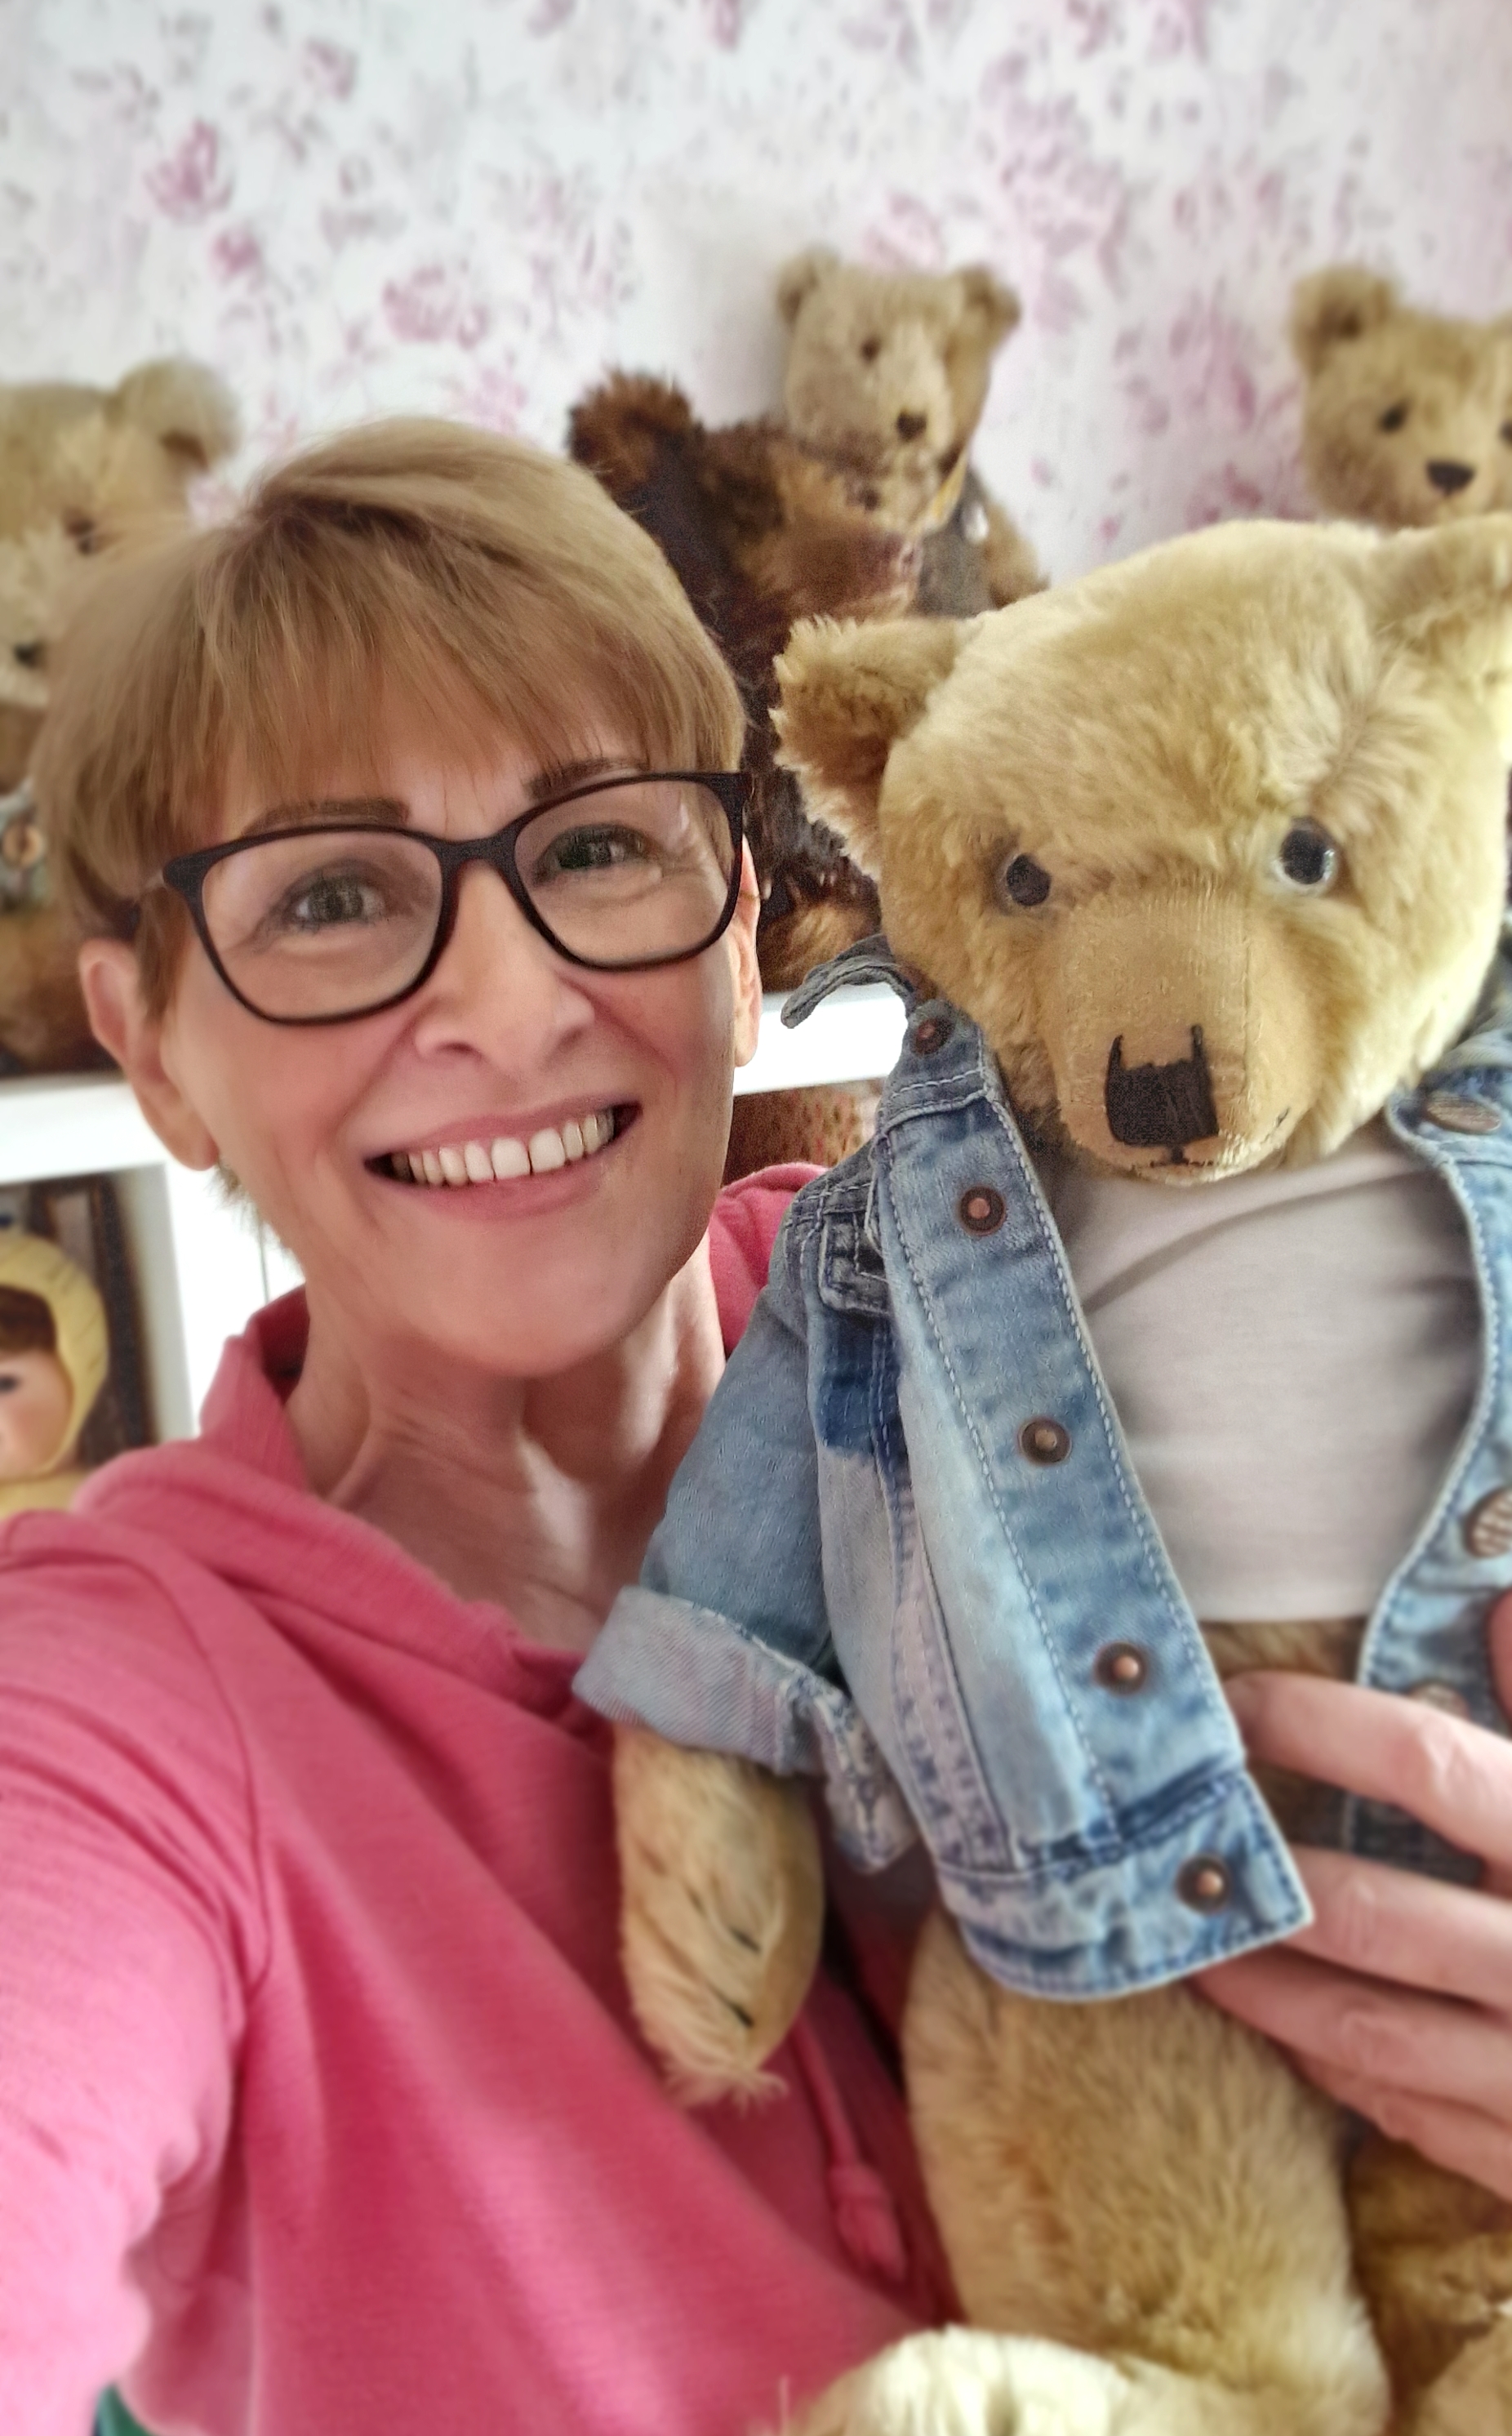
A teddy bear expert
I have been re-reading my teddy bear reference books lately and adding a few more titles to my bookshelf. There are some superb collectors' books, written in the 1980's and 90's, now listed secondhand on websites such as 'World of Books' and good old Ebay... and usually offered at very reasonable prices.
Ken was an expert in the truest sense of the word. Not only respected internationally for his broad subject knowledge and love of teddy bears, but also a dedicated private collector. He built a significant collection of antique teddy bears with his wife Brenda and shared them with the world through his books... which I am fortunate enough to have on my workroom bookshelf.
I first learned of Ken Yenke's work through my subscription to a US teddy bear magazine published in the 1980's. Subsequently, as a competitive teddy bear artist, I was honoured to have Ken include my nomination in 'The Golden Teddy Bear Awards' presentation video in 2011. I didn't win my category that year but it was such a thrill to be included in his presentation! https://allbear.blogspot.com/2011/10/2011-golden-teddy-award-winners.html
If you would like to read more about Ken's beautiful teddy bear collection and the wonderful personal histories behind many of the bears, I highly recommend hunting for copies of his books. They are written in his inimitably warm, personal style and in my view, are a real treat for any teddy bear enthusiast!
Ken Yenke's titles are as follows:
Teddy Bear Treasury Vol. 1
Teddy Bear Treasury Vol. 2
Bing Bears and toys
https://www.kenyenke.com/about
There are of course, many other fine teddy bear titles, written by a variety of authors, now available to find secondhand. I will publish a list of some of my personal favourites at a later date for anyone interested in delving deeper into this fascinating topic.
Happy teddy bear reading ... and collecting!
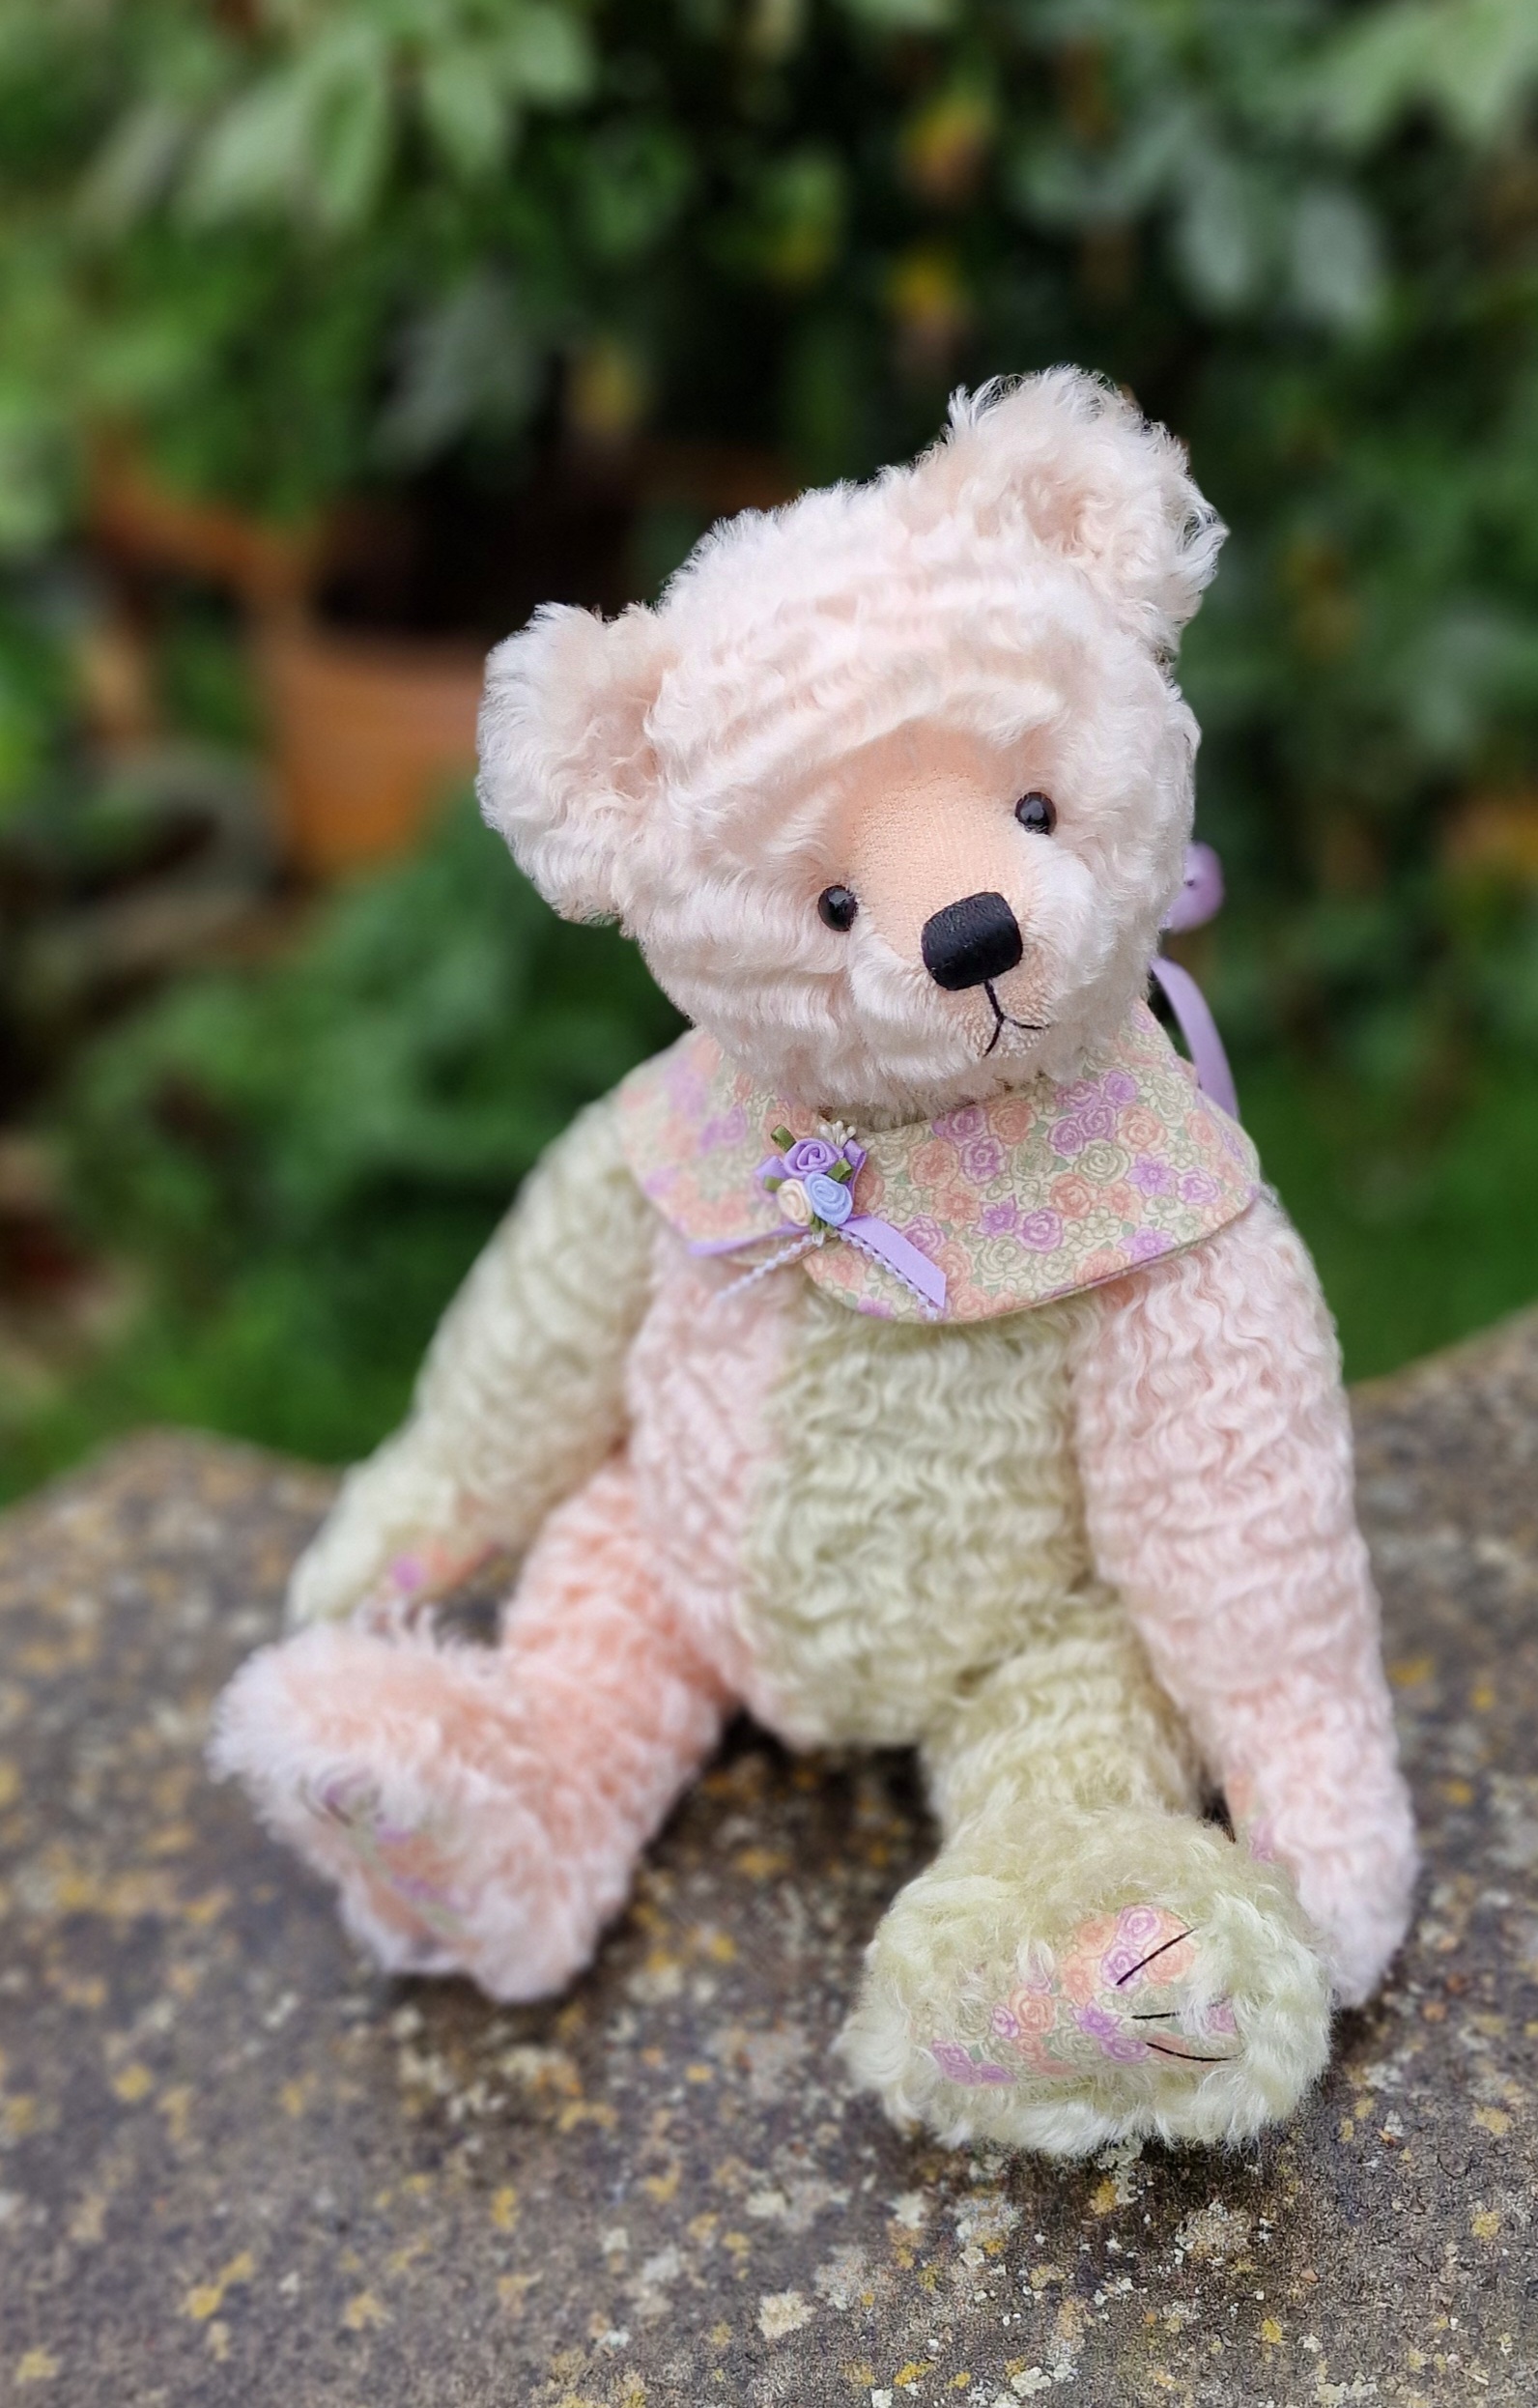
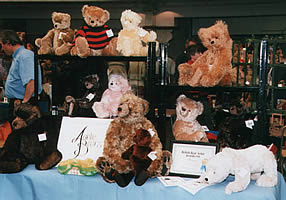
I love to read about the development of the teddy bear over the past century. It is fascinating to learn about the teddy bear phenomenom and its impact on social history... and as a teddy bear designer myself, I am always inspired by photographs of old bears. I think I may be a bit of a teddy bear geek (!) but the written history of the teddy bear has always interested me; perhaps because the authors who write about our beloved teddy bear, are also genuine collectors and enthusiasts, writing with deep passion and respect for their subject. One such author was Ken Yenke, an American teddy bear expert, sadly lost to the bear world after his death in 2014...
Ken was an expert in the truest sense of the word. Not only respected internationally for his broad subject knowledge and love of teddy bears, but also a dedicated private collector. He built a significant collection of antique teddy bears with his wife Brenda and shared them with the world through his books... which I am fortunate enough to have on my workroom bookshelf.
I first learned of Ken Yenke's work through my subscription to a US teddy bear magazine published in the 1980's. Subsequently, as a competitive teddy bear artist, I was honoured to have Ken include my nomination in 'The Golden Teddy Bear Awards' presentation video in 2011. I didn't win my category that year but it was such a thrill to be included in his presentation! https://allbear.blogspot.com/2011/10/2011-golden-teddy-award-winners.html
If you would like to read more about Ken's beautiful teddy bear collection and the wonderful personal histories behind many of the bears, I highly recommend hunting for copies of his books. They are written in his inimitably warm, personal style and in my view, are a real treat for any teddy bear enthusiast!
Ken Yenke's titles are as follows:
Teddy Bear Treasury Vol. 1
Teddy Bear Treasury Vol. 2
Bing Bears and toys
https://www.kenyenke.com/about
There are of course, many other fine teddy bear titles, written by a variety of authors, now available to find secondhand. I will publish a list of some of my personal favourites at a later date for anyone interested in delving deeper into this fascinating topic.
Happy teddy bear reading ... and collecting!